Affiliate Disclaimer: This post may contain affiliate links. As an affiliate, I may earn a commission if you purchase through my links, at no extra cost to you. Please read our full disclosure for more info.
If you just finished setting up your profile and reading our guide on 25 Simple Pinterest Board Ideas to Organize Your First Pins, you are ready for the fun part: creating the actual pins.
For a long time, I thought you needed to be a graphic designer or a Photoshop expert to succeed online.
When I first started out, I saw so many beginners wasting hundreds of dollars on Adobe Creative Cloud subscriptions, or paying expensive freelancers on Fiverr just to make simple blog graphics.
Do not do this. Before your blog is profitable, your priority is financial safety. You do not need to burn your budget on expensive software or professional designers to get traffic.
Pinterest users aren’t looking for museum-quality art. They are looking for clear, helpful solutions. They want to know exactly what your blog post is about within one second of scrolling.
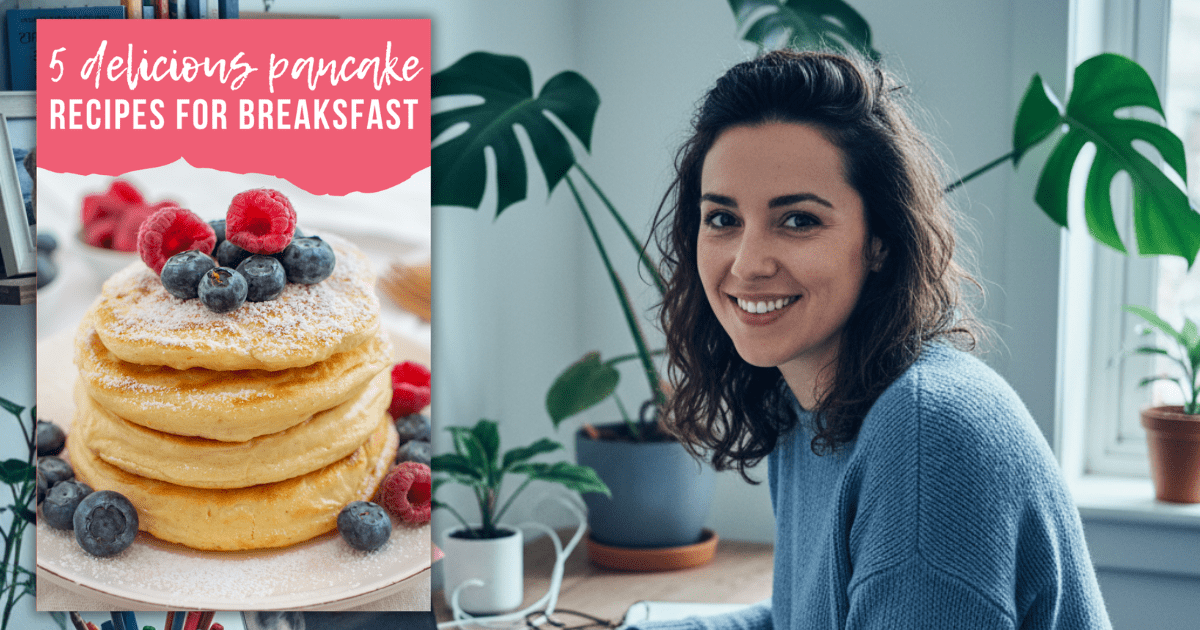
Rina is the Art Director here at BloggingUnlocked. She handles all our pin creation and even completed a Canva Masterclass to streamline our process.
What she taught me is that effective pin design is a repeatable system, not a talent you are born with.
In this guide, we are going to use a completely free tool called Canva to design your very first Pinterest pins. No design degree required.
What You’ll Learn
By the end of this guide, you’ll know exactly how to design clean, high‑performing Pinterest pins using Canva — even if you’ve never created graphics before. You will learn:
- The simple design principles that make a pin get saved (and why saves matter more than anything else)
- The correct Pinterest pin dimensions and how to avoid common sizing mistakes
- How to choose authentic, realistic images that perform better than perfect stock photos
- Which fonts are readable on mobile and which ones to avoid
- How to find and customize beginner‑friendly Canva templates
- How to swap images, edit text, adjust colors, and build a clear visual hierarchy
- How to add your blog domain for branding and protection
- How to use Google Gemini to brainstorm short, punchy pin hooks
- How to download, save, and organize your finished pins properly
This guide gives you the full beginner‑friendly workflow — from opening Canva to exporting your first polished pin.
Why pin design is your biggest traffic asset
When you publish a new blog post, nobody knows it exists yet. Your pin is the bridge between a Pinterest user scrolling on their phone and that user landing on your blog.
If your pin is confusing, hard to read, or uses dark, gloomy colors, people will scroll right past it. But if your pin is clear, bright, and promises a solution, they will Save it.
That “Save” is the most important action on Pinterest. It tells the Pinterest algorithm that your content is valuable, which increases your pin’s distribution to even more users.
Setting up your free Canva account
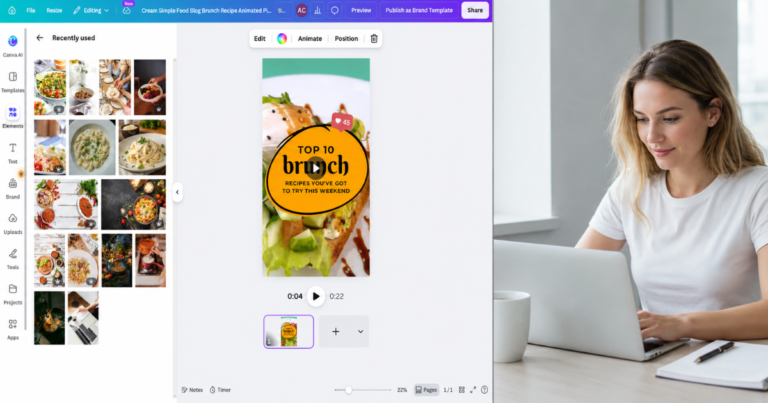
We use Canva for all our pin creation. It is a drag-and-drop design tool that runs right in your web browser.
Canva currently charges $14.99/month for Canva Pro (as of this writing).
Canva — Click to verify current rates, as pricing and promotions update frequently.
However, the Free version has absolutely everything you need to start. You do not need to spend money on upgrades to design beautiful pins.
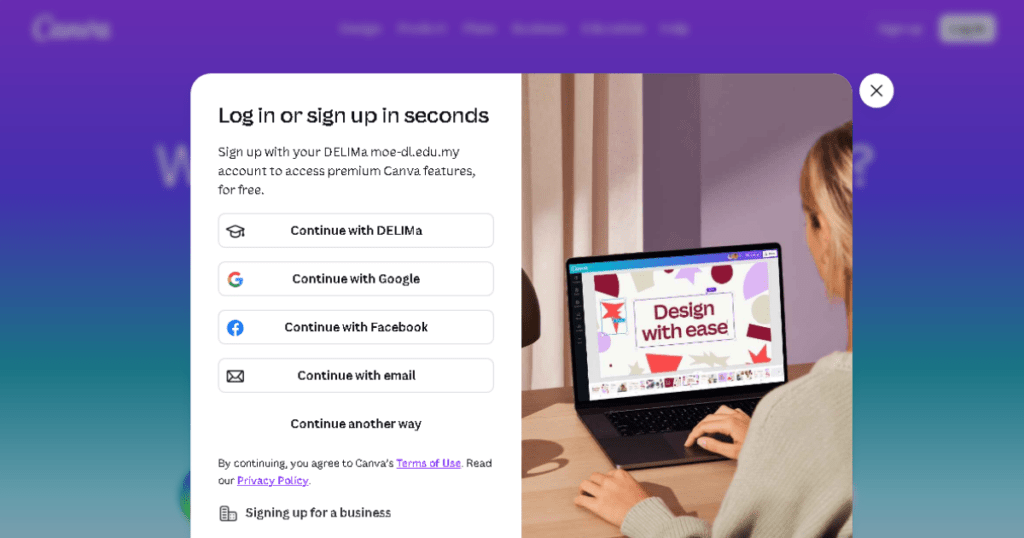
To get started, go to Canva.com and create a free account using the dedicated blog email you set up in our Blog Pre‑Launch Checklist. If you haven’t completed that step yet, pause here and read the checklist first — it ensures all your blogging tools stay organized under one clean, professional email.
The anatomy of a pin that actually gets saved
Before we click any buttons, let’s look at what makes a pin perform well on Pinterest.
Getting the dimensions right (the 2:3 rule)
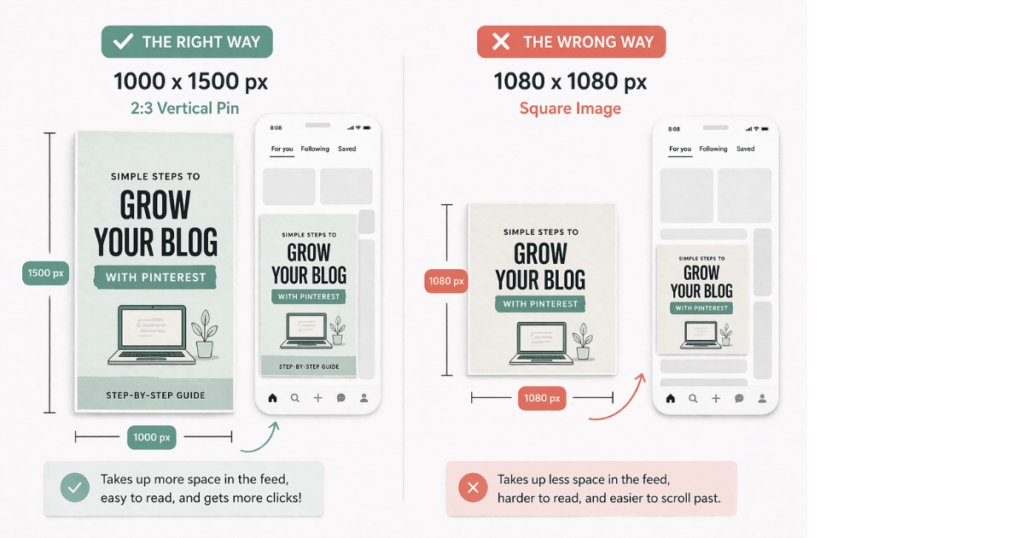
Pinterest is a vertical platform. According to official Pinterest creation best practices, they recommend an aspect ratio of 2:3. In pixel terms, that means your pin should be exactly 1000 pixels wide and 1500 pixels tall.
If you make your pins too long, Pinterest will crop them in the feed, cutting off your text. If you make them square, they will take up less space on the screen and get ignored.
Why authentic images beat perfect stock photos
Pinterest users respond best to authentic, realistic imagery.
If you are writing about a “10-Minute Morning Stretching Routine,” a slightly imperfect photo of a real living room performs better than a sterile, perfectly white studio shot. If your niche is finance and you are writing about “Budgeting for Beginners on a Low Income,” a photo of real notebooks and a calculator feels more achievable than a polished graphic.
Stick to natural lighting and realistic environments.
Choosing fonts mobile users can actually read
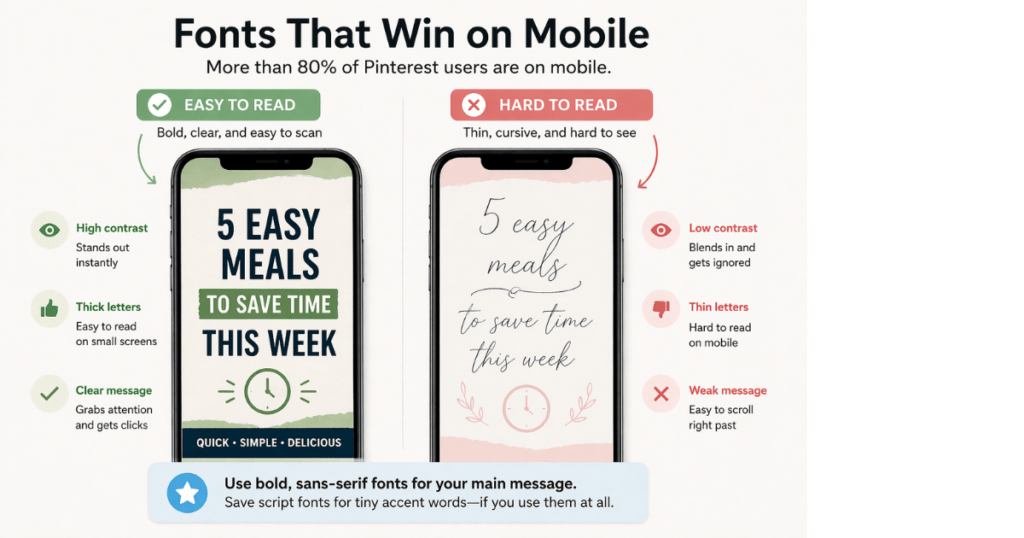
According to Pinterest Business data, more than 80% of Pinterest users are on their mobile phones.
If you use a beautiful, thin script font, it might look great on your laptop monitor. But on a smartphone screen? It becomes an unreadable blur.
Always use thick, bold, sans-serif fonts for your main hook. Only use script fonts for tiny accent words, if at all.
Step-by-step: Designing your first pin in Canva
Now that we know the rules, let’s build your first pin.
Step 1: Finding a clean, beginner-friendly template
Once you’re logged into Canva, click the Create button in the left sidebar. In the panel that opens, use the search bar at the top and type “Pinterest Pin”.
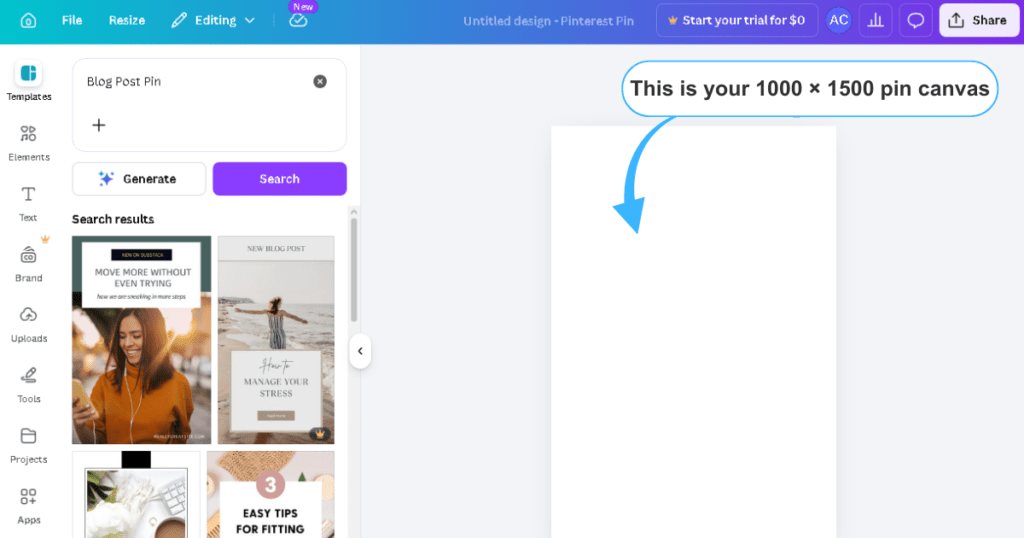
From the results, select “Pinterest Pin (2:3) – 1000 × 1500 px.” This will open a new blank canvas at the correct Pinterest size.
On the left side, you’ll see the Templates tab with lots of ready‑made designs. Use the search bar there to type “Blog Post Pin” and browse the layouts. Choose a simple template with a large image area and a clear, easy‑to‑read text block.
Step 2: Swapping the background image
Once you’ve selected a template you like, click on the background photo inside the design and press Delete to remove it.
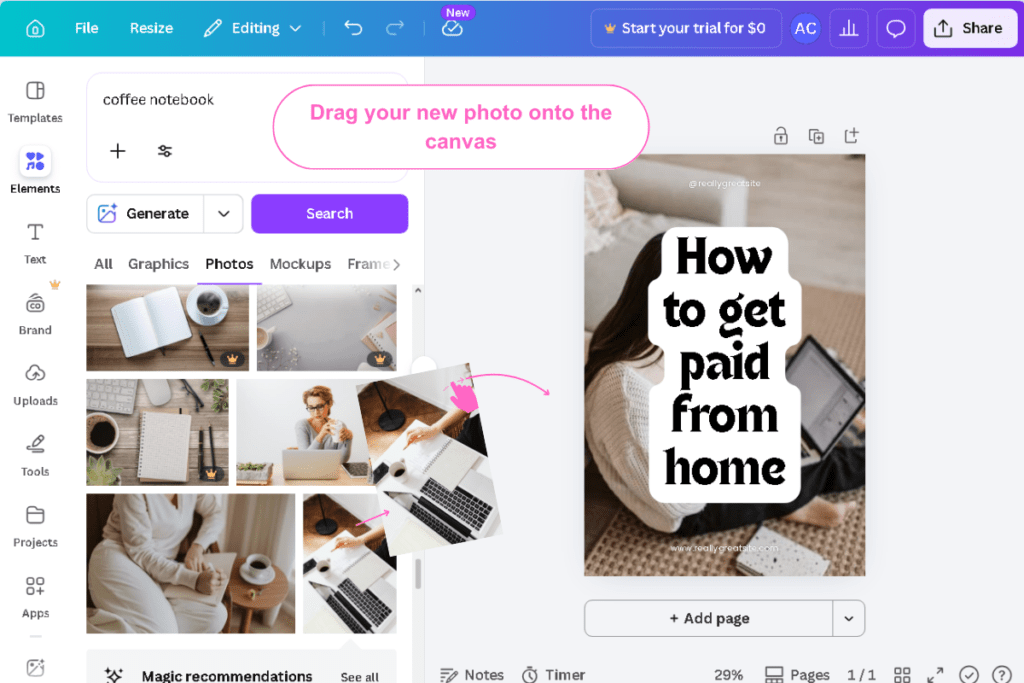
Next, open the Elements tab on the left and type a keyword related to your blog post into the search bar — for example, “messy desk,” “coffee notebook,” or anything that visually represents your topic.
Choose an image you like, then drag it onto your canvas. Canva will automatically snap it into the background position.
Step 3: Editing your text and colors
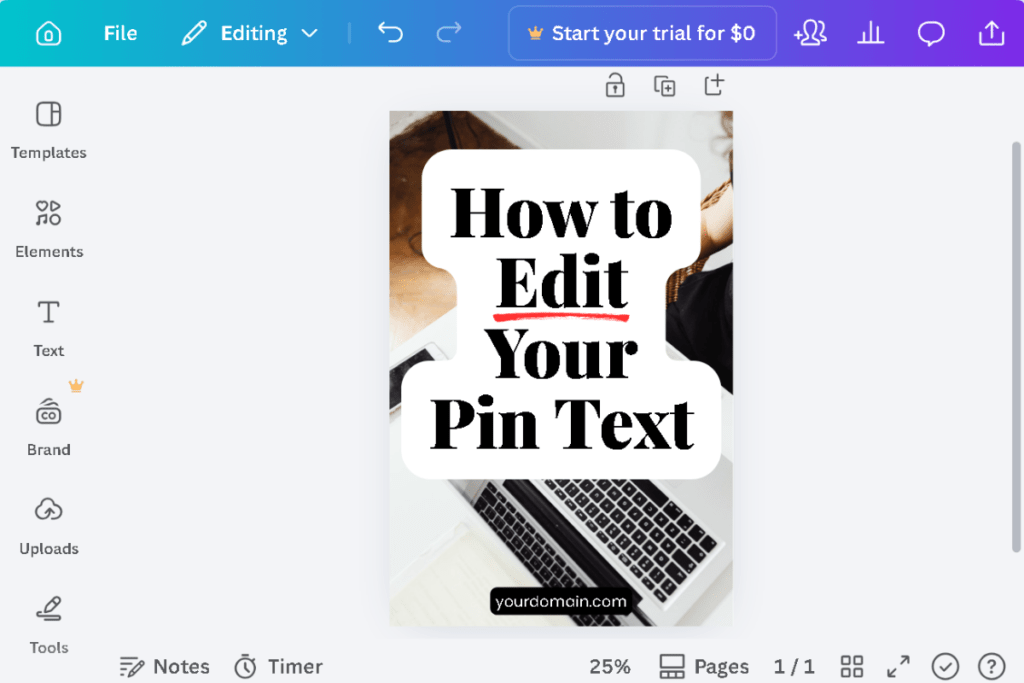
After your background image is in place, click on any text box in the template to start customizing it. Double‑click to replace the placeholder headline with your own blog post title. Keep it short, clear, and easy to read on mobile.
Next, adjust your colors. Select the text box, then use the toolbar at the top to change the font color, background color, or highlight. Aim for strong contrast — dark text on a light background or light text on a dark background — so your pin stays readable even on small screens.
Step 4: Adding your blog domain for branding
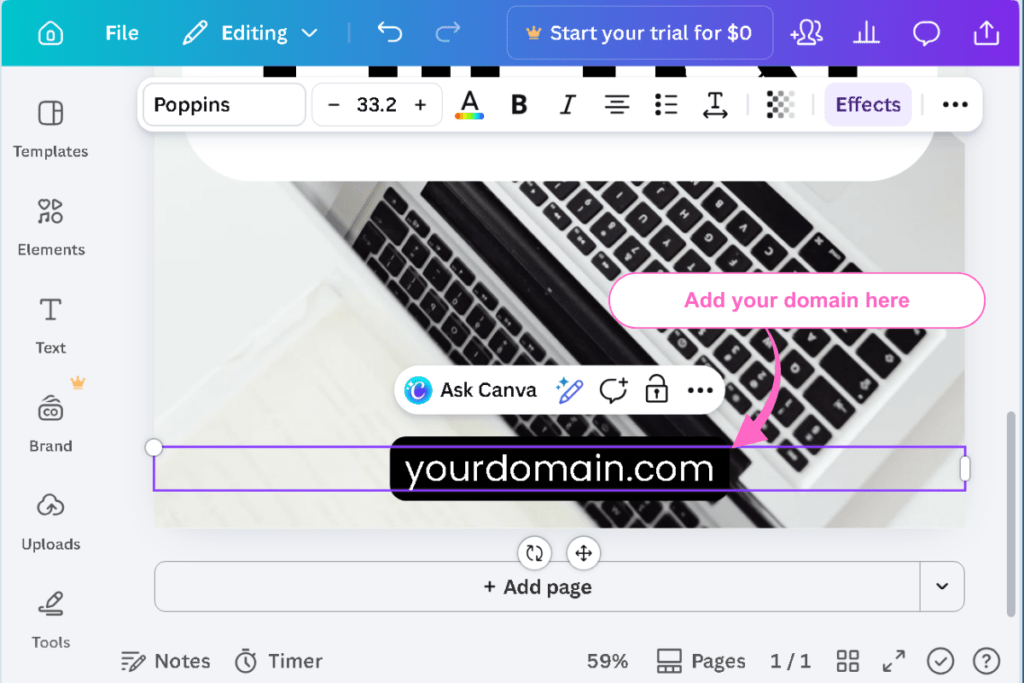
Every pin you publish should include your website address at the very top or bottom of the design. This builds trust, reinforces your brand, and protects your content — even if someone saves or reposts your pin without permission.
Add a small text box, type yourdomain.com, and place it neatly at the bottom. Keep it simple, clean, and easy to read without competing with your headline.
🤖 AI Assistance: Brainstorming pin hooks with Gemini
Sometimes the hardest part of designing a pin isn’t the layout — it’s figuring out what words to put on it. Your blog post title is often too long, too detailed, or too boring to fit on a Pinterest image.
This is where AI helps.
I use Google Gemini (free) to brainstorm short, punchy hooks that fit the pin format and grab attention on mobile.
Copy and paste this prompt into Gemini:
“I am designing a Pinterest pin for my beginner blog post titled ‘[Insert Your Blog Post Title]’. Pinterest users scroll fast on their phones. Give me 5 short, punchy text hooks to put on the pin image. They must be under 7 words each, easy to read, and focused on the main benefit to the reader.”
These hooks give you multiple headline options so you’re not stuck using your full blog title.
Downloading and organizing your finished pins
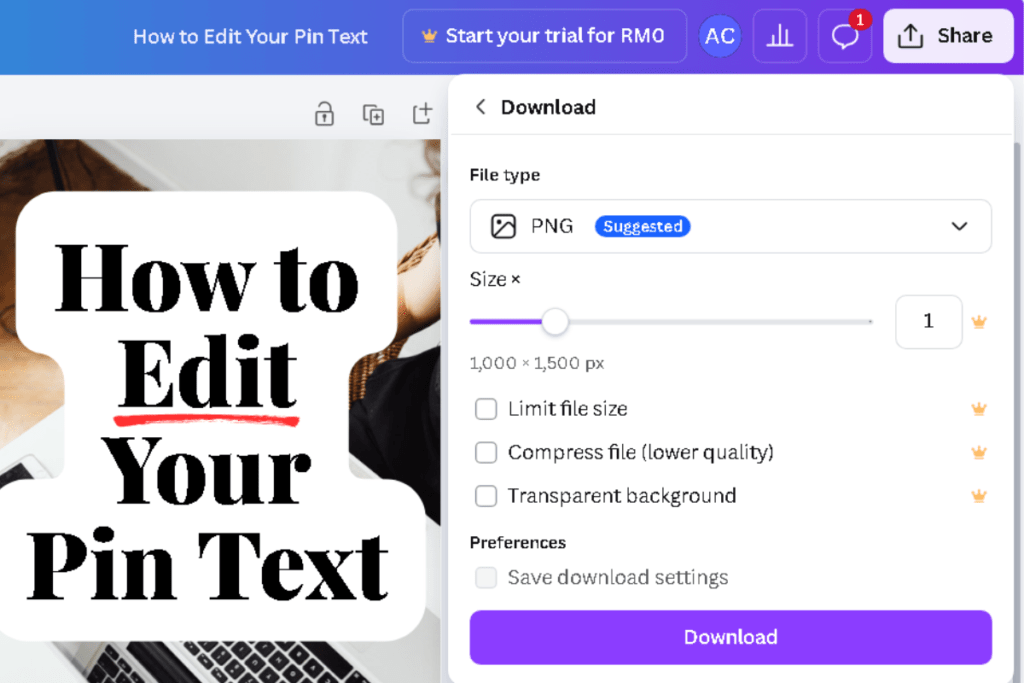
Once your design is ready, click the Share button in the top-‑right corner of Canva.
Choose Download, set the file type to PNG (best quality) or JPG (smaller file size), then click the purple Download button. Save your pins in a folder named after your blog post so everything stays organized.
Remember the lesson from The Blog Organization System That Keeps Everything in One Place: always save your newly downloaded pin into your dedicated Blog Images folder.
This keeps your workflow clean and prevents your designs from disappearing into your computer’s default Downloads folder.
Ready to add titles and descriptions?
You now have a beautiful, mobile‑friendly pin saved to your computer — but a great image is only half the strategy.
To help Pinterest understand your content and show it to the right people, you need strong titles and descriptions that clearly communicate what your pin is about.
Your next step:
Check out Pinterest SEO Secrets: Writing Titles and Descriptions That Get Saves.
Prefer a shortcut instead of figuring everything out on your own?
Sophia Lee’s Beginner Pinterest Course walks you through the exact system beginner bloggers use to grow faster and start earning in their first year.